SYNTH WEEK 2024: The pantheon of synthesizers has its uber-successful, key instruments. Units like the Minimoog, the Prophet-5, ARP’s Odyssey and 2600, and the DX7 sit alongside many others we haven’t mentioned in the hardware realm; and in the plugin world, there are options like Massive, Serum, Phase Plant, Diva and more. These instruments have left many a competitor in the dust, and eventually buried by the sands of synth time.
What is it about the successful synths that made them legends? Was the Minimoog an instrument whose time had truly come, and the brainchild of a certified genius? Or did Yamaha’s DX7 only rise to fame through lucky timing and the right marketing strategy? There’s room for both versions of history, but we’ll never be able to say for sure.
What we can say, though, is that the history of synths could have looked quite different. All through the past decades, there was an alternative history that didn’t get selected – machines that didn’t have their time in the sun, went underappreciated, or were simply ahead of their time. In this feature, we’ll shine a light on these ‘alternative synths’, giving them the love and admiration they missed first time around, and their second chance at a new audience.
With today’s digital emulation of analogue instruments, those who create synths have the chance to make tweaks and changes to the instrument they’re bringing back to life. Companies like Arturia and developers like u-he tend to update even their emulations of classic synths with improved virtual circuitry, and so it’s equally possible for virtual synth-smiths to go back and correct ‘what went wrong’ with some of the units that missed the mark.
What is it about the successful synths that made them legends? The brainchild of geniuses? Lucky timing and the right marketing strategy?
We’ll look at the Novachord and Solovox, two of Hammond Organ Co’s instruments that can be considered – depending on your frame of reference – to be muscling in on synthesizer territory a couple of decades before its rise to prominence. Then there’s the perennial ‘alternative’, the Buchla Music Easel with its West Coast synthesis pedigree. We’ll run through these three alternative synths below.
How about the EMS Synthi, with its ‘battleships’ style pin matrix and its sequencing abilities? And have you ever heard of the Akai AX73, the analogue synth that came just at the turn of the digital revolution? Software emulations of these instruments are the focus of the tutorials below, so join us through the synth looking glass and see what the radio could have been playing if things had taken some slightly different turns.
The original hardware versions of these synths didn’t always have huge commercial success, but they’re valuable to today’s musicians (Image credit: Future)
1. Buchla Music Easel
(Image credit: Future)
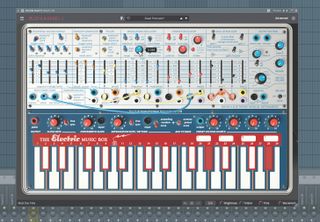
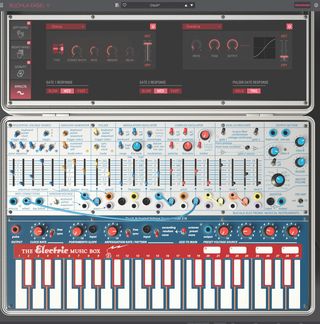
In the Buchla Easel V, we can select one of its presets and demonstrate its complex oscillator. Our audio example uses the Easel Pizzicato preset under the Keys sub-menu. Play around with how the oscillators behave from the two oscillator panels.
(Image credit: Future)
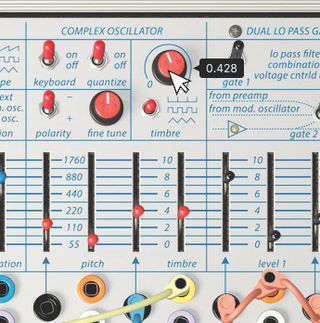
You can adjust the mix level between the two oscillators, as well as adjust the timbre type through the Complex Oscillator panel. This is a good way to alter the harmonic content of the sound and shape it to your liking.
(Image credit: Future)
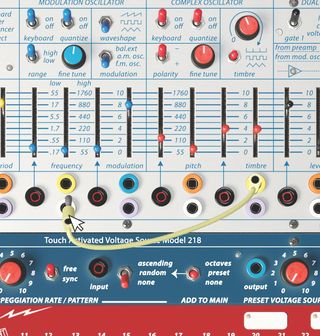
Patching within the Buchla Easel is made easy with its colour-coded outputs. Each colour corresponds to its same-coloured parameter window. Here we’ve used the Pulser’s (yellow) frequency to modulate the oscillator’s pitch.
(Image credit: Future)
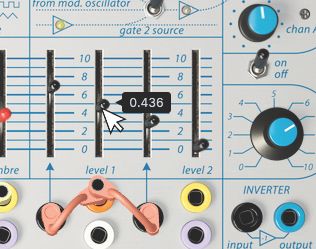
The Easel also features a Dual Low Pass Gate, which both the Complex and Modulation Oscillator can be fed through. You can switch each gate from LPF, DLP or Combination mode, which will alter how each one behaves.
(Image credit: Future)
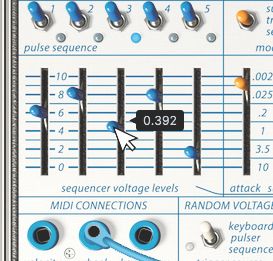
The Easel comes with three different modulators (Sequential Voltage Source, Envelope Generator, and Pulser) that can all be patched to different parameters, and interact with the oscillators to produce a wide array of outcomes.
(Image credit: Future)
2. Hammond Novachord
You may know Hammond Organ Co for its B3 and other organs, but its Novachord and Solovox instruments are some of the earliest synths – they were launched over 80 years ago, and about 30 years before the Minimoog hit the shelves. Both of these ‘synth organs’ have been faithfully emulated by Cherry Audio and are showcased in the above walkthroughs.
First publicly displayed in 1939, the Novachord was Hammond’s trailblazing creation. Now thought to be “the world’s first polyphonic synthesiser”, the Novachord used subtractive synthesis to generate tones and was specifically intended by Hammond not to emulate an actual organ.
(Image credit: Future)
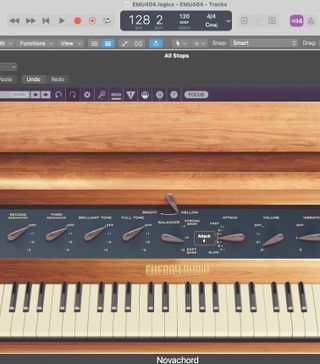
The Novachord’s architecture set precedents for future generations. At first glance, you’ll notice numerous band-pass filters (labelled as Resonators and Tone controls), as well as the first-of-its-kind Attack and Vibrato controls.
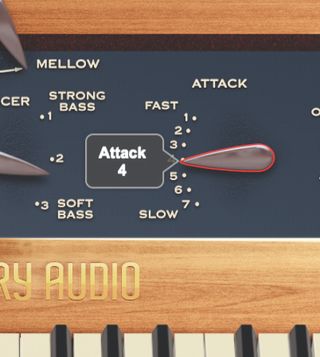
(Image credit: Future)
With the Attack control set to the fastest time, the Novachord will be reminiscent of a traditional keyboard. However, combining one of the two Vibrato settings with the slowest possible Attack results in a hearty cello-like sound.
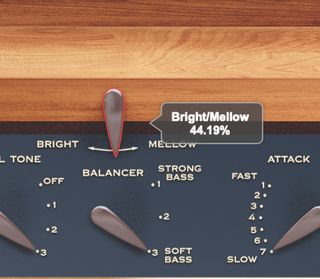
(Image credit: Future)
There’s also a Bright/Mellow slider control at the top of the Novachord to further adjust the tonality of its sonics. With so many filter and tonal controls at your disposal, there is a huge amount of combinations you can achieve.
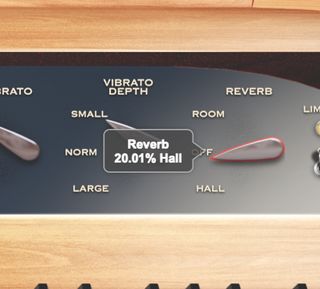
(Image credit: Future)
With the Volume slider and Limiter button, you have acute control over the dynamics of the synth too. Pairing this with the Room/Hall reverb mix slider, gives the Novachord a neat little cherry (audio) on top of its already elegant prowess!
3. Hammond Solovox
Hitting the shelves in 1940, the Solovox is another embodiment of timeless elegance. A single one-octave oscillator served as the main sound source, but its signal was augmented by subsequent processes to span three octaves.
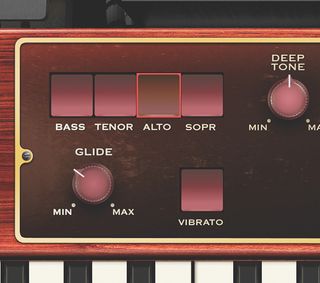
(Image credit: Future)
The Solovox comes with four different Range controls (Bass, Tenor, Alto and Soprano). Like a later synthesizer’s footage settings, multiple switches can be enabled at one time, making for an array of combinations.
(Image credit: Future)
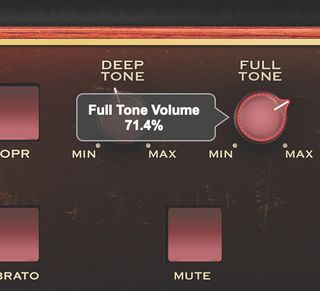
Instead of sending through all filters one by one, the incoming oscillator signal is input to each and then summed after. This makes the four tonal controls (Deep Tone, Full Tone, First Voice & Second Voice) behave as mix sliders.
(Image credit: Future)
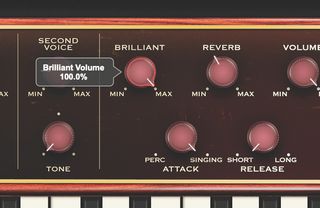
The Solovox also includes a Release control, further building toward the, now staple, ADSR settings. There’s also a Brilliant (2,000Hz) harmonic tone, Reverb and Volume set of sliders, plus a Glide knob and Vibrato toggleable button.
4. Akai AX73

(Image credit: Future)
The Akai AX73 – emulated by Martinic in the tutorial below – was reminiscent of the Yamaha DX7 in its menu-diving operation and tricky to program for even an expert synthesist. With the AX73 though, there wasn’t even the payoff of a radically new synthesis method and an expanded range of tonal possibilities to reward that dive – this synth was a fairly standard subtractive affair, and it used analogue oscillators, which were just about to fall out of fashion.
But the AX73 has a lot to offer. Those ‘late analogue’ oscillators gave out stable waveforms, and you could achieve a combination of up to four thanks to the two synthesis layers. Some interesting LFO options act to increase the appeal of the AX73, and in Martinic’s version, some features from the synth’s stablemate, the AX60, have also been worked in. The AX73 has a pretty mean arpeggiator – actually two of them, one per layer – and a lot of onboard effects.
As it turns out, when you liberate a synth from its inconvenient user interface, and put the whole control set at the fingertips of the DAW user, there’s a lot more that opens up. And if you’re looking for something new to craft classic analogue-style patches, Martinic’s AX73 very much deserves your attention.
(Image credit: Future)
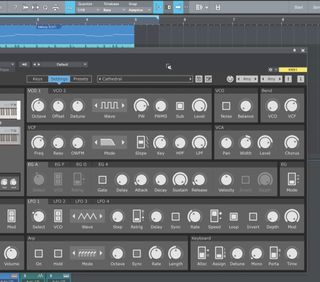
The AX73 gives us plenty of controls to get moving and make some complex patches. The original had these controls, but Martinic’s AX73 makes things simple to actually use. Here’s a sustained patch with a wide frequency range. Still a bit static…
(Image credit: Future)
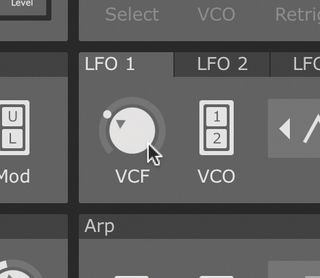
We can get it moving by turning up the Depth on the first LFO, setting its destination to the VCF (filter cutoff) and tweaking its rate until it works with the material at hand.
(Image credit: Future)
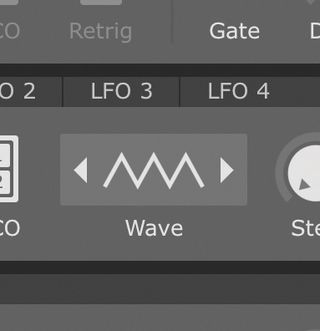
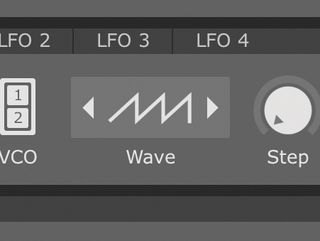
That’s the basic LFO setup, but it can get more interesting than a traditional synth. How about a parabola waveform? Or here, we’re going for an upward saw. If we switch off Loop, it becomes a one-shot upward saw – a single ramp ‘envelope’.
(Image credit: Future)
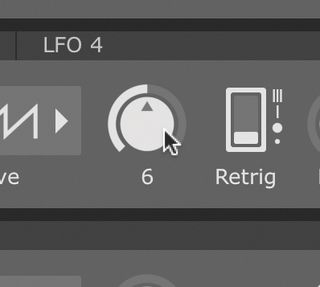
The AX73’s LFOs also let us invert the LFO waveform to have the opposite effect. When combined with the one-shot behaviour, this is especially useful. In this case, it turns our filter ramp-up with each note into a filter drop with each note.
(Image credit: Future)
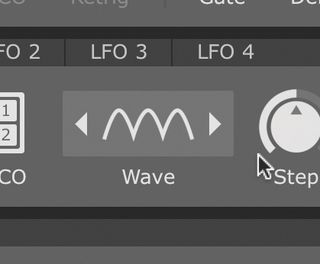
Switching back into Loop mode, we turn our attention to the Step control. This acts sort of like a ‘sample and hold’ setup, holding the value at a certain number of points across a single cycle of the waveform.
(Image credit: Future)
With this Step function, the number of steps has a big effect on the response, but the waveform selected has a pretty huge effect too. And with a random waveform selected, we get that actual, genuine sample and hold effect.
5. EMS Synthi
(Image credit: Future)
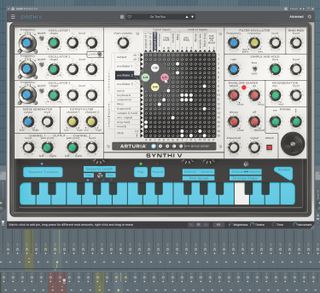
The EMS Synthi AKS is revered for its unique modulation matrix, which Arturia replicates in its Synthi V. You can drop a virtual attenuator pin at varying resistor strengths on the mod-matrix to modulate any of three oscillators, plus other parameters.
(Image credit: Future)
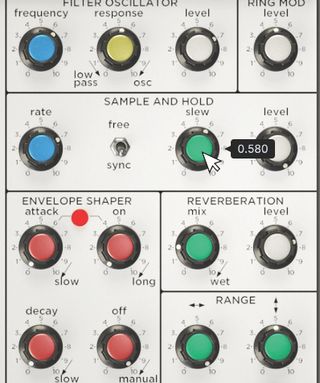
The Sample and Hold modulator will output values sampled from a given source at specific moments for a pseudo random signal. You can map the input going into this modulator through the mod-matrix, and modify how the signal is processed.
(Image credit: Future)
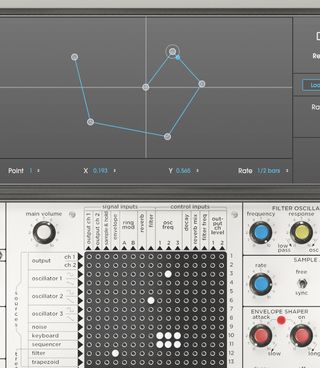
A new feature in Synthi V is the incorporation of a Joystick modulation control. You can move the joystick manually during playback, or even map an external MIDI joystick to your DAW. You can predetermine the joystick’s path in the Advanced window.
(Image credit: Future)
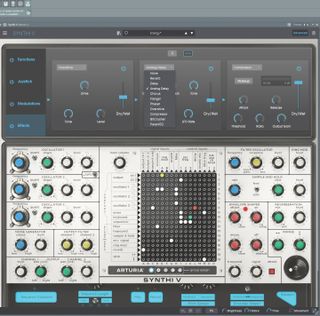
Simply click the Advanced button to jump into Arturia’s collapsible advanced settings window. Here, you can make further tweaks to your Synthi V patch through the Functions, Joystick, Modulation and Effects panels.
